|
1. Demo Video
2. Hosting a Meeting
In GoSupportNow, a support session is called
a meeting. This guide covers
the steps to host and join a meeting:
- Hosting a Meeting
- Joining a Meeting
To host a meeting (i.e., a support session), you need to have a
registered user account. For first-time users,
follow the steps below to host a meeting
Step 1 Click the “Host Meeting” button on the
home page and login
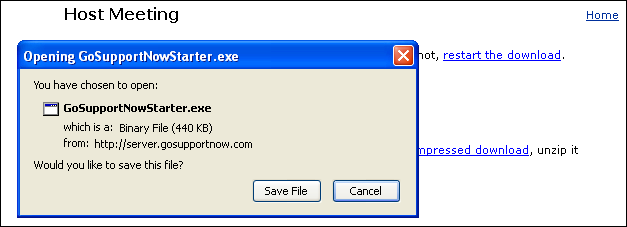
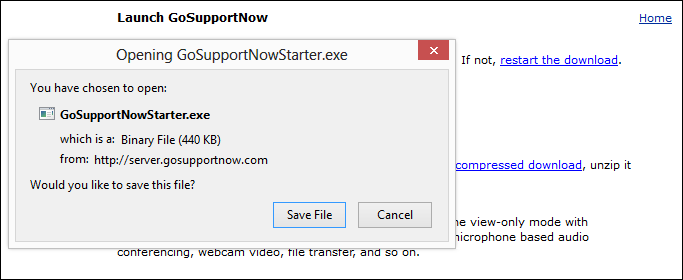
Step 2 When prompted to accept the GoSupportNow
download, click “Save File” and run it.
Step 3 Now the system has filled in the Email
Address, Password and Meeting Server Address,
and automatically starts to sign in. After sign,
the system will display a list of scheduled
meetings, if any. You start a scheduled meeting
anytime.
 
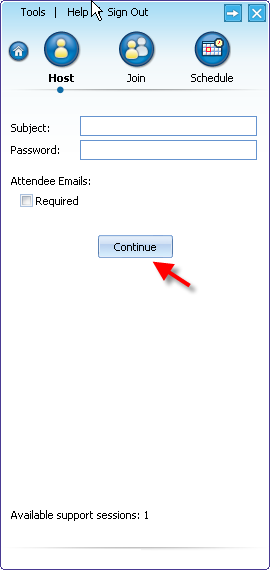
Step 4 Click the “Host”
button. Fill in the optional subject and
password fields and then click the
“Continue” button
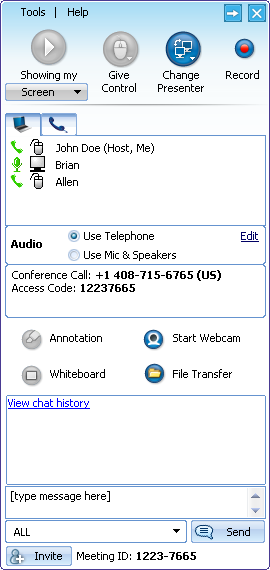
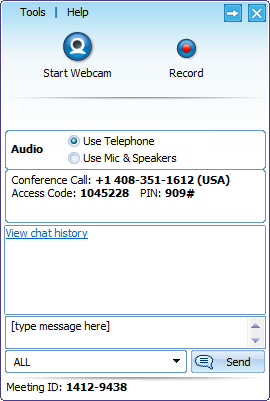
The launch of the panel below indicates that the
meeting has started. Click the “Invite Attendee”
button to invite your meeting attendees
After an attendee joins, you will be able to
view and control his desktop.
If you have already hosted a meeting: Step 1 Click the GoSupportNow icon on your
desktop

Step 2 Go to Step 3 shown above.
3. Joining a Meeting
Step 1 Fill in the Meeting ID, Meeting Password,
and your name. Then, click the “Join Meeting”
button. There is no registration required to
join a meeting.
Step 2 When prompted to accept the GoSupportNow
download, click “Save File” and run it.
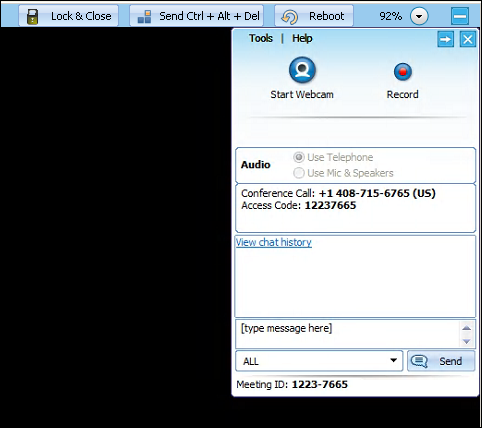
Step 3 Choose the permission you would
like to give to the support representative.
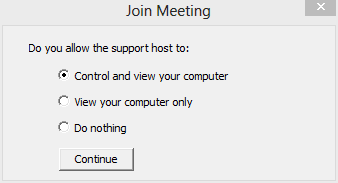
At this point, you have joined the support
session.
 |